Crispy Lemon Pepper Wings: Grandma’s Recipe for Perfectly Golden Chicken
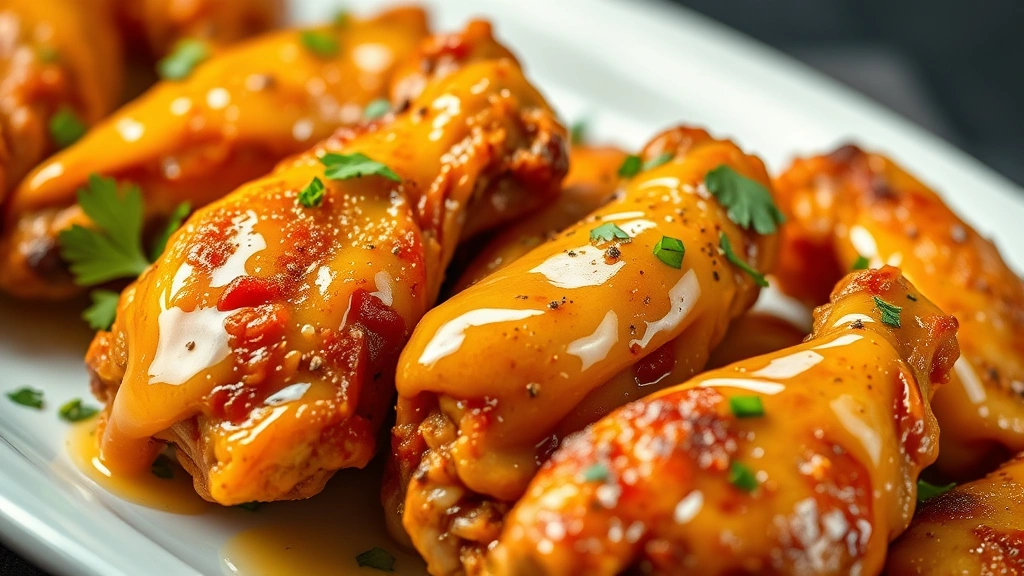
There’s something magical about biting into a wing with a crackling exterior and tender, juicy meat inside. My grandmother’s lemon pepper wings recipe has been a family favorite for decades, and now I’m sharing her secret techniques with you. These aren’t just any wings—they’re crispy on the outside, infused with bright lemon flavor and cracked black pepper heat that keeps you reaching for more.
What makes this recipe special is the combination of a perfectly seasoned flour coating and a finishing sauce that clings beautifully to each piece. Whether you’re hosting a game day gathering, planning a casual dinner, or simply craving something delicious, these lemon pepper wings deliver restaurant-quality results from your own kitchen. The technique is straightforward, but the flavor is absolutely unforgettable.
Ingredients You’ll Need
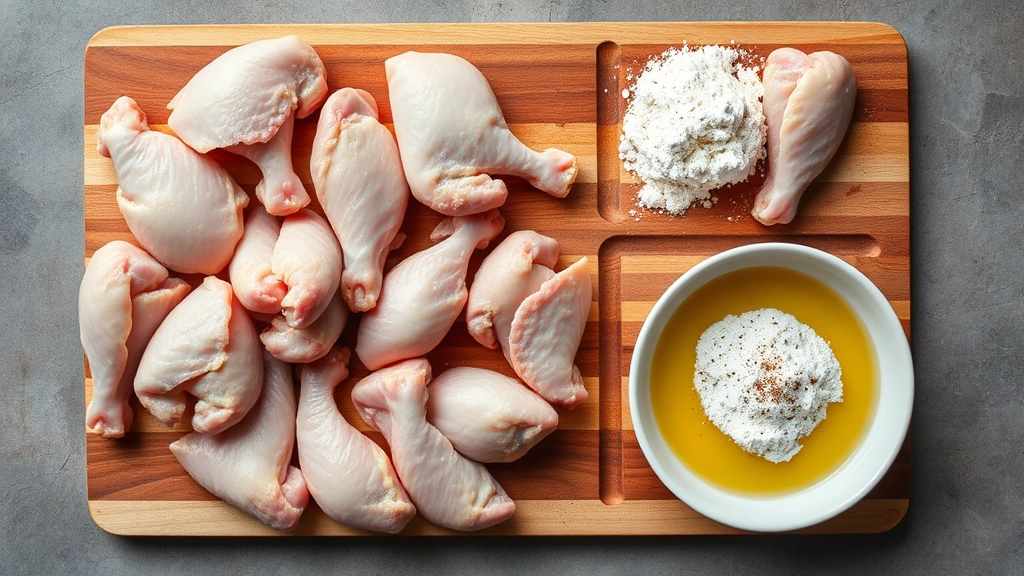
The foundation of great lemon pepper wings starts with quality ingredients. My grandmother always said that you can’t create something delicious from mediocre components, and she was absolutely right. Here’s what you’ll gather for this recipe:
- 3 pounds chicken wings (drumettes and flats separated)
- 1 cup all-purpose flour
- 2 tablespoons freshly cracked black pepper (this is crucial—pre-ground loses potency)
- 1 tablespoon garlic powder
- 1 tablespoon onion powder
- 2 teaspoons paprika
- 1 teaspoon cayenne pepper (adjust to taste preference)
- Salt to taste (approximately 1.5 teaspoons)
- 2 eggs
- 1/4 cup whole milk
- Oil for frying (vegetable or peanut oil works best)
- 6 tablespoons unsalted butter
- 1/2 cup fresh lemon juice (about 3-4 lemons)
- 2 tablespoons honey
- 1 tablespoon fresh lemon zest
- 3 cloves garlic, minced
- Fresh parsley for garnish
The quality of your black pepper truly matters here. Freshly cracking peppercorns yourself ensures maximum flavor and aroma compared to pre-ground varieties that have lost their essential oils.
Prep Work and Marinating
Before you even think about the frying pan, proper preparation sets the stage for success. Start by patting your chicken wings completely dry with paper towels. This step is non-negotiable if you want crispy wings. Any moisture on the surface will create steam during cooking, preventing that desirable golden crust from forming.
Separate the drumettes from the flats, discarding the wing tips (or save them for making stock). This separation ensures even cooking since these two pieces have different thicknesses and will cook at slightly different rates. Arrange them on a clean plate and let them sit at room temperature for about 15 minutes while you prepare your coating station.
Setting up a proper breading station makes the process efficient and keeps your workspace organized. You’ll need three shallow bowls: one for the egg mixture, one for the seasoned flour, and one for finished wings. This assembly-line approach prevents cross-contamination and helps you work quickly.
In a large bowl, whisk together your eggs and milk until completely combined. In a separate shallow dish, combine all dry ingredients: flour, black pepper, garlic powder, onion powder, paprika, cayenne, and salt. Mix these thoroughly so the seasonings distribute evenly throughout the flour. Take a moment to taste a tiny pinch of the mixture—it should be flavorful and well-balanced. Adjust the cayenne if you prefer more or less heat.
While marinating isn’t strictly necessary for this recipe, my grandmother would sometimes place the dried wings in a covered bowl with a squeeze of fresh lemon juice and a sprinkle of salt for 30 minutes before breading. This adds extra flavor depth and helps tenderize the meat. It’s an optional step, but one that elevates the final result.
The Cooking Method
Heat your oil to exactly 350°F (175°C). This temperature is critical—too hot and your wings will brown before cooking through, too cool and they’ll absorb excess oil and become greasy. Use a reliable thermometer to verify the temperature rather than guessing.
Working in batches, dip each wing first into the egg mixture, coating completely, then drag it through the seasoned flour, pressing gently so the coating adheres. Shake off excess flour and place on a clean plate. Don’t overcrowd your work surface—organize wings so they don’t touch each other before frying.
Carefully place wings into the hot oil, working in batches of 8-10 pieces to avoid overcrowding the pan. Crowding the pan drops the oil temperature and creates steam, both enemies of crispiness. Fry for 12-15 minutes, stirring occasionally with a slotted spoon or spider strainer, until the coating turns deep golden brown and the internal temperature reaches 165°F (74°C).
Transfer cooked wings to a paper towel-lined plate immediately after removing them from the oil. Let them rest for 2-3 minutes—this allows any excess oil to drain while the exterior sets up perfectly crispy. Don’t skip this step, as it makes a noticeable difference in the final texture.
Creating the Perfect Sauce Coating
While your wings are frying, prepare the lemon pepper sauce that transforms these crispy pieces into something truly special. In a medium saucepan over medium-low heat, melt your butter. Add the minced garlic and cook for about 1 minute, stirring constantly, until fragrant. Be careful not to let the garlic brown—you want a gentle, aromatic infusion.
Pour in the fresh lemon juice slowly while stirring. The combination of butter and lemon creates an emulsion that’s absolutely divine. Add the honey, which balances the acidity of the lemon and adds subtle sweetness. Stir in the lemon zest and let the mixture simmer for 2-3 minutes. The sauce should be glossy, fragrant, and coat the back of a spoon.
For the proper consistency, you want a sauce that clings to the wings without being too runny. If your sauce seems too thin, you can make a quick slurry by mixing 1 tablespoon cornstarch with 2 tablespoons cold water, whisking it into the sauce, and cooking for another minute. This isn’t always necessary, but it helps if you prefer a thicker coating.
Once your wings have rested on the paper towels, transfer them to a large bowl. Pour the warm lemon pepper sauce over the wings and toss gently but thoroughly, ensuring every piece gets coated. Work quickly while both the wings and sauce are warm—this helps the coating set properly and flavor to penetrate the crust.
If you’re learning to make homemade sauces, this lemon pepper variation teaches you how heat, fat, and acid combine to create something greater than the sum of its parts. The technique applies to countless other dishes beyond wings.
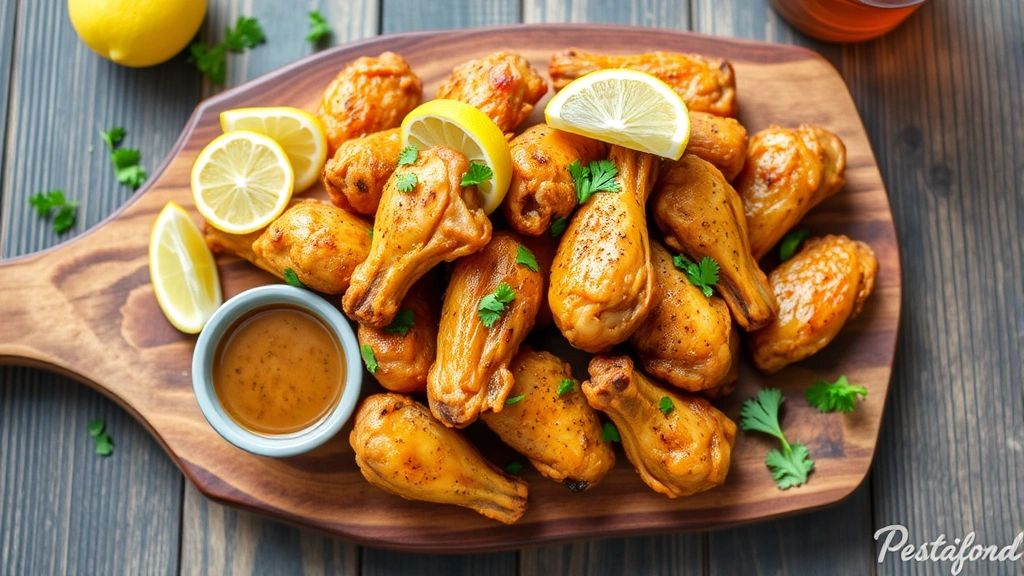
Serving and Storage Tips
Transfer your coated wings to a serving platter and garnish generously with fresh parsley and additional cracked black pepper. Fresh herbs add color, freshness, and a final burst of flavor that completes the dish. Serve immediately while the wings are still warm and the coating is at its crispiest.
For a complete meal, pair these wings with complementary sides. A creamy yum yum sauce recipe makes an excellent dipping option that contrasts beautifully with the bright lemon flavor. You could also serve with ranch dressing, celery sticks, and carrot batons for a classic presentation.
Leftover wings can be stored in an airtight container in the refrigerator for up to 3 days. To reheat, place them on a wire rack over a baking sheet and warm in a 375°F (190°C) oven for 8-10 minutes, which restores much of the original crispiness. Avoid using the microwave, as it will make the coating soggy.
For longer storage, freeze cooked wings in a freezer bag for up to 3 months. Thaw overnight in the refrigerator before reheating. If you want to freeze uncooked breaded wings, do so before frying—they’ll keep for up to 2 months and can go directly from freezer to hot oil, adding just 2-3 minutes to the cooking time.
Flavor Variations to Try
Once you’ve mastered the basic lemon pepper wings technique, you can experiment with exciting variations. The foundation of this recipe is flexible enough to accommodate different flavor profiles while maintaining that signature crispy exterior.
Garlic Parmesan Wings: Replace the lemon juice with 4 tablespoons of minced garlic and 1/4 cup grated Parmesan cheese. Reduce the honey to 1 tablespoon and add 1 teaspoon Italian seasoning. Toss with the wings and finish with fresh basil.
Spicy Honey Lemon Wings: Keep the base sauce but add 2 tablespoons of hot sauce and increase the cayenne pepper in the flour coating to 2 teaspoons. The combination of heat and citrus is absolutely addictive.
Asian-Inspired Variation: Incorporate 2 tablespoons soy sauce, 1 tablespoon sesame oil, and 1 teaspoon fresh ginger into the sauce. Garnish with sesame seeds and sliced green onions instead of parsley.
Understanding how to make remoulade sauce opens doors to another wing variation—mix the lemon pepper wings with a tangy remoulade for a unique take on traditional preparations. Similarly, studying homemade salad dressing techniques can inspire you to create emulsified sauces for wings.
The principle behind successful marinades, explored in recipes like carne asada marinade and fajita marinade, can also be applied to wings. Consider marinating your wings in a citrus-based mixture before breading for additional depth of flavor.
FAQ
Can I bake these wings instead of frying them?
Yes, you can bake them for a lighter version. Pat wings dry, toss with a light coating of oil, then dredge in the seasoned flour. Arrange on a wire rack over a baking sheet and bake at 400°F (200°C) for 30-35 minutes, flipping halfway through. They won’t be quite as crispy as fried wings, but they’ll still be delicious. Toss with the sauce immediately after baking.
What’s the best way to separate chicken wings?
Use a sharp knife to cut through the joint where the drumette connects to the flat. You’ll find a natural seam that makes separation easy. The wing tip can be used for making chicken stock. Proper separation ensures more even cooking since drumettes and flats have different thicknesses.
Can I make the sauce ahead of time?
Absolutely. The lemon pepper sauce can be made up to 2 hours in advance and stored in a covered container at room temperature. Reheat gently over low heat for 2-3 minutes before tossing with the wings. Avoid boiling, which can break the emulsion and make the sauce separate.
How do I keep wings crispy when serving a crowd?
Keep finished wings in a warm oven at 200°F (93°C) on a wire rack, which allows air circulation and prevents moisture from making them soggy. Add the sauce coating just before serving rather than all at once. If you’re serving over an extended period, sauce only the portion you’re serving immediately.
What type of oil is best for frying?
Peanut oil and vegetable oil are ideal because they have high smoke points (around 450°F/232°C) and neutral flavors that won’t compete with your seasoning. Avoid olive oil, which has a lower smoke point and will impart unwanted flavor. Canola oil works in a pinch but produces less flavorful results.
How can I tell when wings are fully cooked?
Use an instant-read meat thermometer inserted into the thickest part of the drumette without touching bone. The internal temperature should reach 165°F (74°C). The meat should be opaque throughout with no pink visible when you cut into the thickest piece.
Can I double this recipe for a large gathering?
Yes, the recipe scales beautifully. Double all ingredients and fry in batches, ensuring the oil temperature returns to 350°F between batches. You may need to make the sauce in two batches to ensure even coating. This recipe serves 6-8 people as an appetizer or 4 as a main course.
What’s the difference between wing drumettes and flats?
Drumettes are the thick, drumstick-shaped pieces with one bone running through the center. Flats are thinner pieces with two parallel bones. Drumettes take slightly longer to cook but stay juicier, while flats cook faster and offer more surface area for crispy coating. Separating them allows you to manage cooking time more precisely.


