
Lemon Squares Recipe: Tried and True Method for Perfect Results
Lemon squares are a timeless dessert that combines a buttery shortbread crust with a bright, tangy filling that’s both refreshing and indulgent. This classic treat has graced dessert tables for generations, and for good reason—when executed properly, they deliver the perfect balance of sweetness and citrus zing. Whether you’re baking for a special occasion or simply craving something homemade, mastering the art of making lemon squares will elevate your dessert repertoire.
The beauty of this lemon squares recipe lies in its simplicity and reliability. With straightforward ingredients and a methodical approach, you’ll achieve that coveted tender crust, creamy filling, and perfect tartness every single time. This guide walks you through each step, sharing professional techniques that ensure success whether you’re a seasoned baker or picking up a whisk for the first time.
Ingredients You’ll Need
The foundation of an exceptional lemon squares recipe starts with quality ingredients. For the crust, you’ll need 2 cups all-purpose flour, 1/2 cup granulated sugar, 1/2 teaspoon salt, and 1 cup (2 sticks) cold unsalted butter. The filling requires 4 large eggs, 1 1/2 cups granulated sugar, 3 tablespoons all-purpose flour, 1 tablespoon cornstarch, 1/2 teaspoon baking powder, 1/2 cup fresh lemon juice (approximately 3-4 lemons), 1 tablespoon lemon zest, and 1/4 teaspoon salt.
For finishing, you’ll want 2 tablespoons powdered sugar for dusting. The quality of your lemon juice makes an enormous difference—always use fresh-squeezed lemon juice rather than bottled versions, which contain preservatives that can affect both flavor and texture. Room-temperature eggs incorporate more smoothly into your filling, so remove them from the refrigerator about 30 minutes before baking.
Investing in fresh lemons from your local market or grocery store ensures you capture that bright, authentic citrus flavor. If you’re also interested in complementary desserts, exploring juicing recipes can help you use remaining lemons creatively.
Creating the Perfect Crust
The crust is absolutely critical to achieving lemon squares that have the proper texture and structural integrity. Begin by preheating your oven to 350°F (175°C). Line a 9×13-inch baking pan with parchment paper, allowing the paper to extend slightly over the edges—this makes removal and cutting significantly easier.
In a medium bowl, whisk together 2 cups flour, 1/2 cup sugar, and 1/2 teaspoon salt. Cut your cold butter into small cubes; the coldness is essential because it creates pockets that produce a flaky, tender crust. Using a pastry cutter or your fingertips, work the butter into the flour mixture until it resembles coarse breadcrumbs. This step typically takes 3-4 minutes and requires patience—don’t over-mix, as this develops gluten and results in a tough crust.
Transfer the mixture to your prepared pan and press it firmly and evenly across the bottom. Use the bottom of a measuring cup to create an even layer about 1/4-inch thick. Prick the surface with a fork in several places to prevent puffing during pre-baking. Bake the crust for 12-15 minutes until it’s light golden brown and set but not fully cooked through. This partial baking ensures the crust remains crispy rather than becoming soggy from the filling’s moisture.
Remove the crust from the oven and let it cool for about 5 minutes before pouring the filling. The slight warmth helps the filling adhere to the crust, creating a cohesive dessert. This foundation technique is similar to the precision required when preparing mediterranean salad recipe components—each element must be properly prepared for the final result to shine.
Making the Lemon Filling
While the crust bakes, prepare your filling. In a large mixing bowl, crack 4 eggs and whisk them together with 1 1/2 cups sugar for approximately 2-3 minutes until the mixture becomes pale and slightly thickened. This whisking incorporates air, which helps the filling set properly and creates a tender crumb.
In a separate small bowl, combine 3 tablespoons flour, 1 tablespoon cornstarch, and 1/2 teaspoon baking powder. The cornstarch prevents the filling from becoming too jiggly, while the baking powder creates a slightly airy texture. Sift this dry mixture over the egg mixture and gently fold it in using a spatula, being careful not to deflate the eggs.
Add 1/2 cup fresh lemon juice and 1 tablespoon lemon zest to the mixture, along with 1/4 teaspoon salt. Fold these ingredients in gently but thoroughly, ensuring no streaks of dry ingredients remain. The mixture should be smooth and homogeneous. The lemon zest adds complexity and visual appeal with its tiny flecks of bright yellow, while the juice provides the essential tart flavor profile.
Pour the filling over your partially baked crust, spreading it evenly with an offset spatula or the back of a spoon. The filling should reach all corners and create a uniform surface for even baking. If you’re interested in exploring other bright, citrus-forward flavors, the green goddess dressing recipe offers interesting herbal notes that pair beautifully alongside lemon desserts.
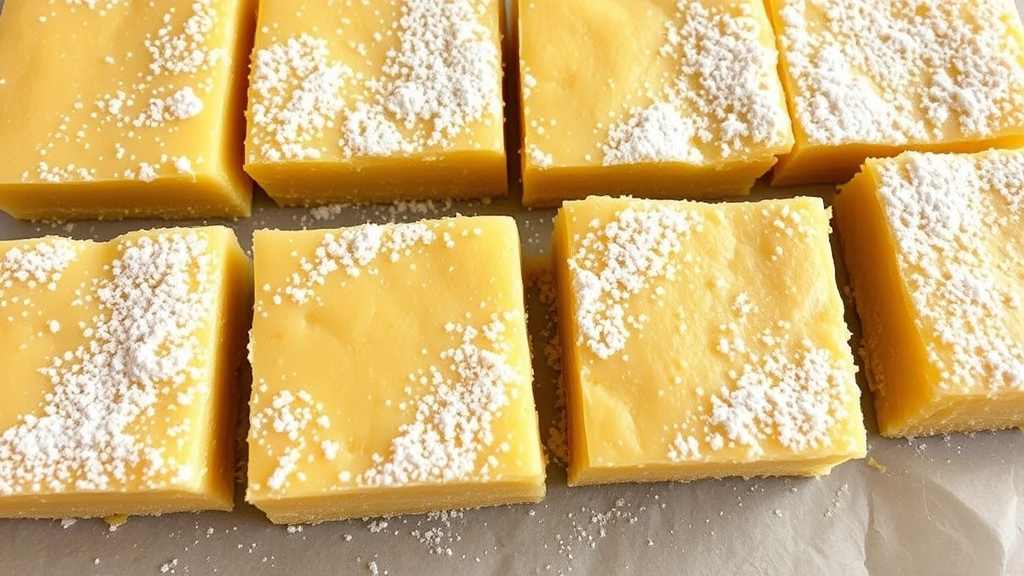
” alt=”Golden lemon squares with powdered sugar dusting on parchment paper, showing perfect golden crust and creamy pale yellow filling with visible lemon zest specks” />
Baking and Cooling Process
Return the pan to your 350°F oven and bake for 20-25 minutes until the filling is set but still slightly jiggly in the very center when you gently shake the pan. The filling will continue cooking slightly from residual heat after removal, so avoid overbaking, which results in a rubbery, unpleasant texture. The edges should appear golden, and the surface should have a slight matte appearance rather than appearing wet or glossy.
Remove the lemon squares from the oven and place them on a wire rack to cool to room temperature—this process takes approximately 1-2 hours. Once cooled, transfer the entire pan to the refrigerator for at least 4 hours, preferably overnight. This chilling period is non-negotiable for achieving clean, neat cuts. The cold firms up the filling, making it easier to slice without the filling crumbling or smearing.
When ready to cut, lift the entire square out of the pan using the parchment paper edges. Place it on a cutting board and use a sharp knife dipped in hot water (wipe between cuts) to create clean lines. Cut into 16 equal squares or adjust sizing based on your preference. The knife dipping technique prevents the filling from sticking and dragging, which would compromise your presentation.
Dust the finished squares generously with powdered sugar just before serving. This final touch adds visual elegance and a subtle sweetness that complements the tartness of the lemon filling. The contrast between the white powder and golden cake creates an appetizing appearance that makes these squares irresistible.
Pro Tips for Success
Use a kitchen scale for precision: Baking is a science, and weighing ingredients rather than measuring by volume ensures consistency. Flour, in particular, can vary significantly in density depending on how it’s packed.
Invest in fresh lemons: The flavor difference between fresh-squeezed and bottled lemon juice is dramatic. Meyer lemons, when available, offer a slightly sweeter, less acidic option that some bakers prefer.
Don’t skip the parchment paper: This simple step makes removal and cutting infinitely easier and prevents sticking that can damage your finished product.
Chill thoroughly: Patience during the cooling and chilling stages directly impacts your ability to cut clean, beautiful squares. Warm filling is impossible to cut neatly.
Adjust tartness to preference: Some people prefer more lemon flavor. You can increase lemon juice by up to 3/4 cup, but reduce the sugar slightly to maintain proper texture. The ratio of liquid to dry ingredients matters significantly.
Consider egg temperature: Room-temperature eggs incorporate more evenly, creating a smoother filling. Cold eggs take longer to blend and may result in streaky texture.
Understanding these techniques connects to broader baking principles. For those interested in exploring other dessert fundamentals, researching resources like King Arthur Baking Company provides extensive educational content on baking science and technique refinement.
Variations and Flavor Twists
Once you’ve mastered the classic lemon squares recipe, experimenting with variations keeps the dessert exciting. Lavender Lemon Squares: Add 1 teaspoon dried culinary lavender to the filling for a sophisticated floral note. Steep the lavender in the lemon juice for 15 minutes before straining and adding to the filling.
Lime Squares: Substitute fresh lime juice and zest for lemon for a different citrus profile. Limes create a more tropical, slightly different flavor experience while maintaining the same texture principles.
Blueberry Lemon Squares: Sprinkle 1 cup fresh or frozen blueberries over the crust before adding the filling. The berries sink during baking, creating pockets of tartness throughout.
Coconut Crust: Replace 1/2 cup flour in the crust with shredded unsweetened coconut for a tropical variation. This works beautifully with the lemon filling and adds textural interest.
Brown Butter Crust: Brown your butter before incorporating it into the crust ingredients. This adds a nutty depth that complements the bright lemon beautifully.
Raspberry Swirl: Top the filling with a thin layer of raspberry jam before baking. The tartness of raspberries echoes the lemon while adding visual appeal with swirls of color.
These variations maintain the structural integrity and baking time of the original recipe while offering creative exploration. The principles remain consistent—proper crust foundation, carefully balanced filling, and adequate chilling time.
Storage and Serving Suggestions
Properly stored lemon squares maintain quality for up to 5 days in the refrigerator. Keep them in an airtight container with parchment paper between layers to prevent sticking and damage. The cold environment preserves the filling’s texture and prevents the crust from becoming overly soft.
For longer storage, lemon squares freeze exceptionally well for up to 3 months. Wrap individual squares in plastic wrap, then place them in a freezer-safe container or bag. Thaw at room temperature for about 1 hour before serving, or enjoy them straight from the freezer on hot days when their cold, refreshing nature becomes especially appealing.
These squares pair beautifully with afternoon tea, coffee, or as a palate-cleansing dessert after heavier meals. They’re also excellent for potlucks, bake sales, and gift-giving. The elegant appearance and professional quality of homemade lemon squares impresses guests and family members alike.
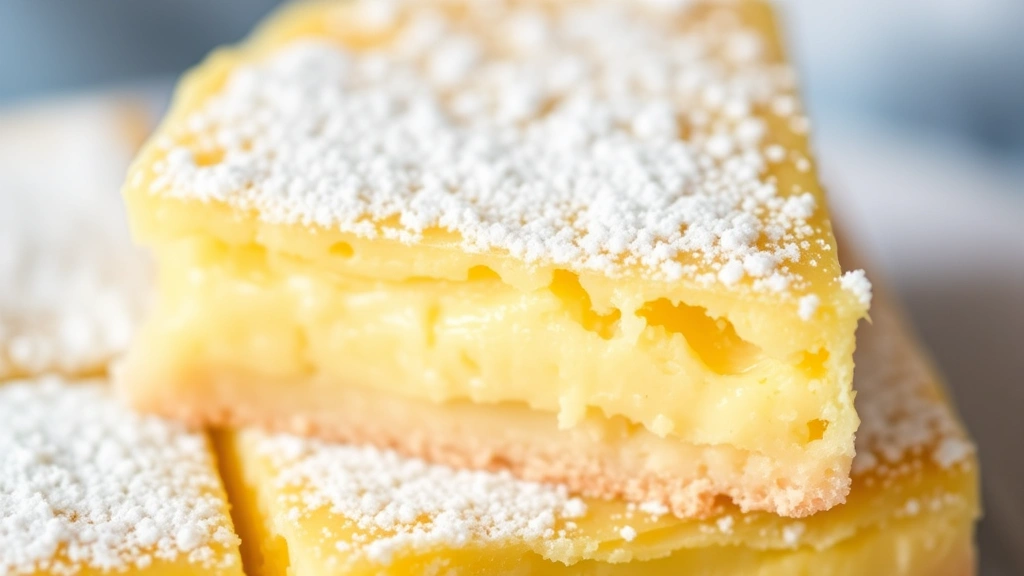
” alt=”Close-up of perfectly cut lemon square showing distinct layers of golden buttery crust and pale yellow creamy filling with powdered sugar on top” />
For complementary dessert ideas and flavor pairings, exploring resources like Serious Eats provides comprehensive guides on dessert science and recipe development. Additionally, Bon Appétit Magazine offers contemporary takes on classic recipes with professional photography and detailed instructions.
Consider serving lemon squares alongside savory options at gatherings. If you’re planning a complete menu, pairing them with easy coleslaw recipe items creates interesting contrast for larger events, or the roasted veggies recipe offers a light complement to a dessert-focused spread.
FAQ
Can I use bottled lemon juice instead of fresh?
While possible, bottled lemon juice contains preservatives and lacks the bright flavor of fresh juice. The results will be noticeably less flavorful and may have a slightly off taste. Fresh-squeezed juice takes just a few minutes and makes an enormous difference in the final product.
Why is my filling too jiggly after baking?
Under-baking causes this issue. The filling should be set but still slightly jiggly only in the very center. If it’s jiggly across most of the surface, return it to the oven for another 3-5 minutes. Remember that residual heat continues cooking after removal, so err on the side of slightly under-baked rather than over-baked.
My crust turned out soggy. What went wrong?
This typically happens when the crust isn’t pre-baked long enough or when the filled pan sits too long before baking. Ensure you bake the crust until it’s light golden and set, and don’t delay baking the filled pan. Also, using cold butter and not over-mixing the crust dough helps achieve crispiness.
Can I make these in a different pan size?
Yes, but adjust baking time accordingly. A 9×9-inch pan requires slightly longer baking (27-30 minutes) since the filling will be thicker. An 8×12-inch pan requires less time (18-20 minutes). The filling should always be set but slightly jiggly in the center.
How far in advance can I prepare lemon squares?
You can prepare them up to 5 days ahead and store in the refrigerator, or freeze for up to 3 months. They’re actually better made a day or two ahead, as the flavors meld and the texture becomes more uniform. Dust with powdered sugar just before serving for best appearance.
What if I don’t have a 9×13 pan?
Use the closest size available. Adjust baking time slightly if your pan is significantly different in dimensions. A slightly thinner layer bakes faster; a thicker layer requires more time. The visual cue of a set but slightly jiggly center is more reliable than strict timing.
Can I reduce the sugar in the filling?
You can reduce it slightly (by up to 1/4 cup), but reducing sugar affects texture and browning. Test with a small reduction first. The tartness of lemon naturally provides flavor, so some bakers prefer less sugar, but the structural integrity depends partly on the sugar content.


