Crispy Baked Chicken Tenderloins? Chef’s Secret
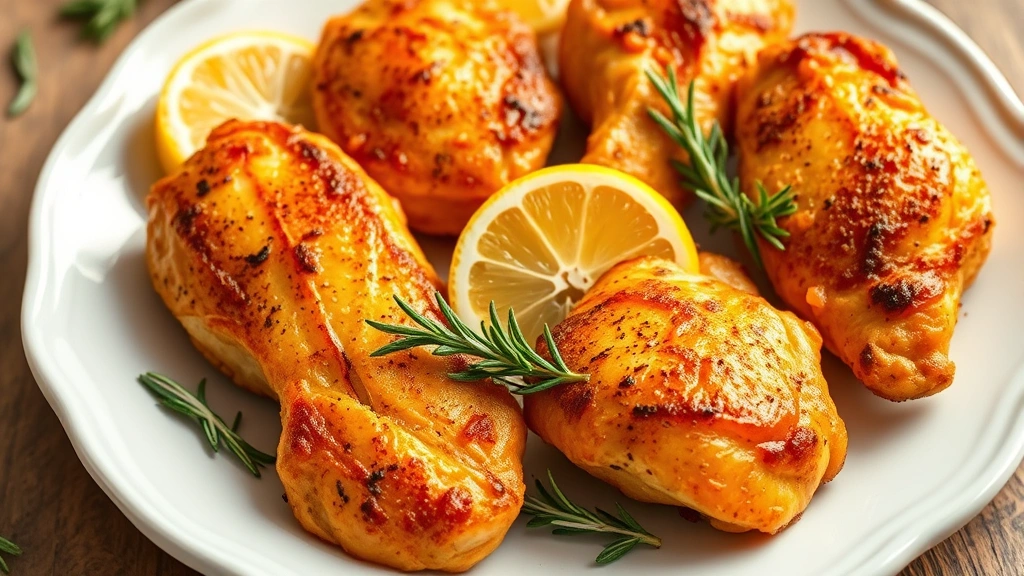
Achieving crispy, golden-brown chicken tenderloins in the oven without deep frying is the holy grail for home cooks seeking healthier alternatives to traditional fried chicken. The secret lies not in a single technique, but in a strategic combination of preparation methods, coating science, and precise oven temperature control. Professional chefs have long known that baking can produce results nearly indistinguishable from frying when you understand the mechanics of moisture evaporation, breading adhesion, and Maillard reaction development.
Most home cooks struggle with baked chicken tenderloins because they treat the process like roasting regular chicken breasts. Tenderloins are a different beast entirely—they’re more delicate, cook faster, and require a fundamentally different approach to achieve that coveted crispy exterior while maintaining juicy, tender meat inside. This guide reveals the professional techniques that transform ordinary baked chicken tenderloins into restaurant-quality results that will impress your family and guests.
Understanding Chicken Tenderloins
Chicken tenderloins are the small, tender strips of meat located on the underside of the chicken breast, running parallel to the main breast muscle. They’re naturally more tender than regular chicken breasts because they contain fewer muscle fibers and have a higher moisture content relative to their mass. This composition makes them ideal for quick cooking methods, but it also means they require different handling than thicker cuts.
The key difference between tenderloins and regular chicken breasts is their thickness and cooking time. A standard chicken breast might be 3/4 to 1 inch thick and require 20-25 minutes of baking, while tenderloins typically measure only 1/4 to 1/2 inch thick and need just 12-15 minutes. This faster cooking time is your advantage—it means less time for moisture to escape, resulting in juicier meat with a properly crisped exterior.
When selecting tenderloins at the market, look for pieces that are relatively uniform in thickness. Consistency ensures even cooking throughout your batch. If you’re buying whole chicken breasts and want to extract the tenderloins yourself, simply locate the thin strip on the underside of each breast and gently pull it away from the main muscle using a sharp knife.
The Brining Advantage
Brining is the single most important step that separates mediocre baked chicken from exceptional results. This process involves submerging chicken in a saltwater solution, which fundamentally changes the meat’s ability to retain moisture during cooking. The salt denatures the muscle proteins, allowing them to retain up to 15% more water than untreated chicken.
To create a basic brine, dissolve 1/4 cup kosher salt in 4 cups of water. For enhanced flavor, add 2 tablespoons of sugar, 1 tablespoon of garlic powder, 1 tablespoon of paprika, and 1 teaspoon of cayenne pepper. Submerge your chicken tenderloins completely and refrigerate for 2-4 hours. Don’t exceed 8 hours, as excessive brining can make the meat mushy.
After brining, remove the tenderloins and pat them completely dry with paper towels. This step is crucial—any surface moisture will create steam that prevents crisping. A completely dry surface is essential for proper browning through the Maillard reaction, which requires direct heat contact without moisture interference. Many chefs actually refrigerate the brined, dried tenderloins for 30 minutes before coating to allow the surface to become even drier.
Coating Techniques for Maximum Crispiness
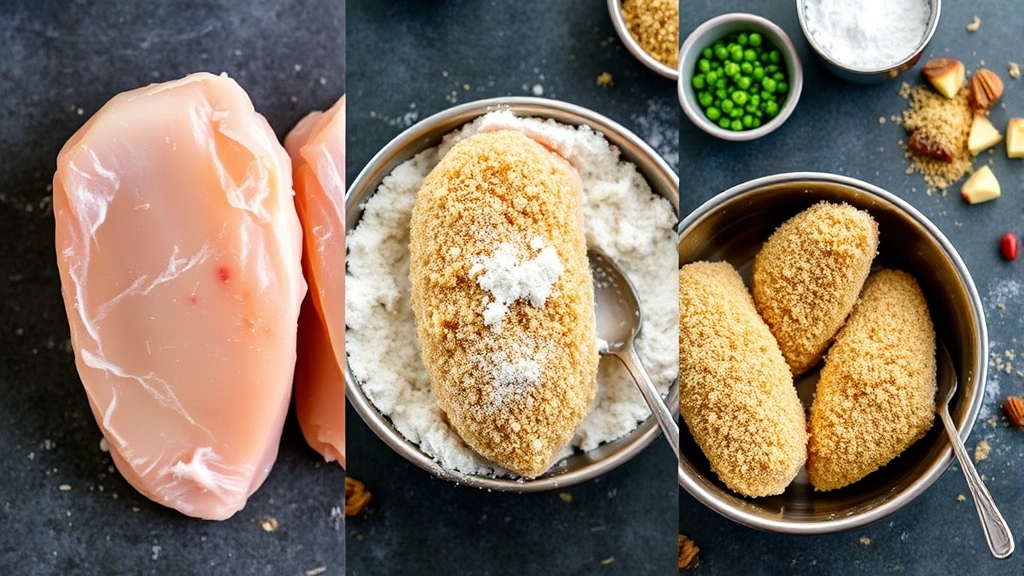
The coating is where magic happens. Professional chefs use a double-dredging technique that creates an incredibly crispy exterior. Start with three shallow bowls: one with all-purpose flour mixed with 1 teaspoon of salt and 1/2 teaspoon of black pepper, one with beaten eggs (2 eggs per 12 tenderloins), and one with your breading mixture.
For the breading mixture, combine 2 cups of panko breadcrumbs with 1/4 cup grated Parmesan cheese, 1 tablespoon of garlic powder, 1 tablespoon of onion powder, 1 tablespoon of paprika, 1 teaspoon of cayenne pepper, and 1/2 teaspoon of dried oregano. The key to exceptional crispiness is using panko instead of regular breadcrumbs—panko has larger, flakier pieces that create more surface area for crisping and browning.
Here’s the professional double-dredging technique: coat each tenderloin in flour, shaking off excess, then dip in egg, then coat in panko. Immediately repeat the process—dip the flour-egg-panko-coated tenderloin back into the egg, then coat again in panko. This creates a double layer that fries up incredibly crispy. The second layer of egg acts as additional adhesive, ensuring the outer panko layer stays attached during baking.
For extra crispiness, add 2 tablespoons of cornstarch to your panko mixture. Cornstarch absorbs surface moisture and fries up even crispier than regular breadcrumbs. Some professional chefs also add 1 tablespoon of baking powder to their breading mixture—the alkaline nature of baking powder accelerates browning and creates a lighter, crispier texture.
Oil Application Methods
Oil application is where most home cooks fail to achieve crispy results. Simply placing breaded chicken on a baking sheet without oil results in pale, soft exteriors. The oil provides the medium for proper browning and crisping, but too much oil creates greasy results.
The optimal method is using cooking spray to lightly coat the bottom of your baking sheet, then using an additional spray application on the tops of your breaded tenderloins. This minimalist approach provides enough oil for browning without creating greasiness. Alternatively, brush a thin layer of oil on the baking sheet and on top of each tenderloin using a pastry brush.
For maximum crispiness, consider using avocado oil or light olive oil instead of vegetable oil. These oils have higher smoke points (around 450-500°F) compared to vegetable oil (400°F), allowing them to withstand higher baking temperatures without degrading. The higher smoke point means more vigorous browning reactions and better crisping without the oil breaking down.
Some professional kitchens use a hybrid approach: they spray the baking sheet with oil, place the breaded tenderloins on it, then spray the tops with oil, and finally drizzle a tiny amount of melted butter on top of each piece. The butter adds richness and promotes additional browning through the milk solids in the butter.
Temperature Control Mastery
Temperature is absolutely critical for crispy baked chicken tenderloins. Most home ovens are calibrated inaccurately, so invest in an oven thermometer to verify your actual temperature. Place it in the center of your oven and check it regularly—many ovens are off by 25-50°F from their displayed temperature.
The ideal baking temperature is 425-450°F. At 425°F, chicken tenderloins bake for approximately 14-16 minutes. At 450°F, they’re done in 12-14 minutes. The higher temperature accelerates the Maillard reaction (the chemical process that creates browning and flavor) while the shorter cooking time minimizes moisture loss.
Position your oven rack in the upper-middle position, not the center. This placement exposes the tenderloins to more direct heat from above, which accelerates browning on the top surface. If your oven has a convection setting, use it—the circulating air promotes even browning and crisping on all sides.
Never flip your tenderloins during baking. Flipping disrupts the crust formation and can cause the coating to separate from the meat. Instead, use a preheated baking sheet. Place your sheet in the oven for 5 minutes before adding the tenderloins—the hot surface provides immediate, intense heat that starts the crisping process immediately.
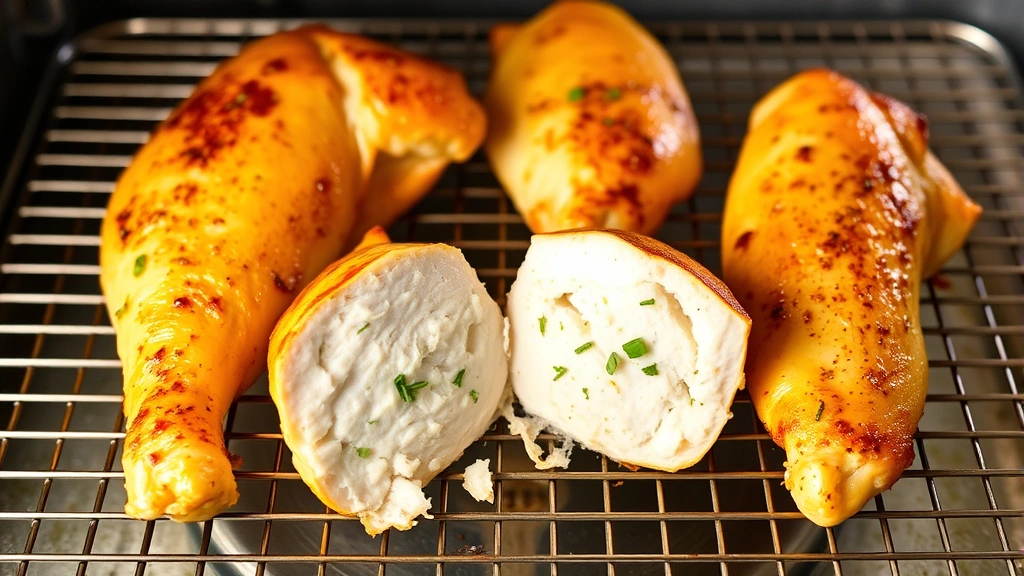
Check for doneness by inserting a meat thermometer into the thickest tenderloin—it should read 165°F internally. The external coating should be deep golden brown, almost amber in color. If the coating looks pale after 14 minutes at 450°F, your oven is likely running cool.
Pro Tips for Restaurant Results
Professional chefs employ several additional techniques that elevate baked chicken tenderloins to restaurant quality. First, use organic chicken when possible—the superior meat quality and better fat distribution create more flavorful results than conventional chicken.
Second, employ the resting period strategy. After removing tenderloins from the oven, let them rest on a wire rack (not a plate) for 5 minutes. This allows carryover cooking to complete and the juices to redistribute throughout the meat. A wire rack is essential because it allows air circulation underneath, preventing steam from making the bottom soggy.
Third, season your brining liquid aggressively. Many home cooks under-salt their brines, which limits the benefits of the brining process. The brine should taste almost uncomfortably salty—this is correct. The chicken absorbs only a portion of this salt, resulting in perfectly seasoned meat without being overly salty.
Fourth, consider using science-based cooking techniques like sous vide finishing. Some advanced home cooks bake their tenderloins at 275°F for 8 minutes, then blast them at 500°F for 2-3 minutes to finish crisping. This two-stage approach ensures perfectly cooked, juicy interiors with maximally crispy exteriors.
Fifth, make a compound butter for finishing. Mix softened butter with minced garlic, fresh herbs like parsley and thyme, and a pinch of lemon zest. Place a small dollop on each hot tenderloin immediately after removing from the oven—the residual heat melts the butter, adding richness and flavor.
Flavor Variations
Once you’ve mastered the basic technique, experiment with different coating flavors. For an Asian-inspired version, add 1 tablespoon of sesame seeds, 1 teaspoon of ginger powder, and 1/2 teaspoon of white pepper to your panko mixture. Serve with a sweet and spicy dipping sauce.
For a Mediterranean version, add 1 tablespoon of dried oregano, 1 tablespoon of dried basil, and 2 teaspoons of Italian seasoning to your coating. Serve alongside a fresh Mediterranean salad for a complete meal.
For a spicy Cajun version, increase the cayenne to 2 teaspoons, add 1 tablespoon of smoked paprika, and include 1 teaspoon of garlic powder and 1 teaspoon of onion powder. This creates a bold, flavorful crust that pairs perfectly with rice or similar sides.
For a ranch-flavored version that kids love, add 1 tablespoon of ranch seasoning powder to your panko mixture. This creates a familiar, comforting flavor that maintains the crispy texture while providing recognizable taste.
These baked tenderloins pair wonderfully with quick and easy pasta recipes for weeknight dinners, or serve them as part of a healthy chili recipe for a protein boost. They’re also excellent cold the next day in salads or sandwiches.
FAQ
Can I bake chicken tenderloins without brining?
Yes, but results will be noticeably less juicy and tender. If you’re short on time, at minimum salt the tenderloins generously 40 minutes before cooking—this provides some benefits of brining without the full time commitment.
What’s the difference between these and breaded chicken wings?
Tenderloins are leaner, cook faster, and have a more delicate texture than chicken wings. Wings contain more fat and connective tissue, allowing them to withstand longer cooking times and still remain juicy. The coating techniques are similar, but cooking times differ significantly.
How do I prevent the coating from separating during baking?
Ensure your tenderloins are completely dry after brining, use the double-dredging technique, and let coated tenderloins rest in the refrigerator for 15-30 minutes before baking. This allows the coating to adhere properly.
Can I freeze coated tenderloins?
Absolutely. Freeze them on a baking sheet for 2 hours, then transfer to freezer bags. Bake directly from frozen, adding 3-5 minutes to the cooking time. Don’t thaw them first, as this can make the coating soggy.
What’s the best dipping sauce?
Homemade ranch made with Greek yogurt, fresh herbs, and lemon juice provides a healthier option than store-bought versions. Alternatively, mix honey with sriracha for a sweet-spicy option, or combine mustard with maple syrup for a tangy-sweet sauce.
Why is my chicken tenderloin dry inside?
You’re likely baking at too low a temperature or for too long. Higher temperatures and shorter cooking times preserve moisture better. Also ensure you’re brining and not exceeding 165°F internal temperature.
Can I use regular breadcrumbs instead of panko?
You can, but results won’t be as crispy. If using regular breadcrumbs, pulse them in a food processor to create larger pieces, and add 2 tablespoons of cornstarch to improve crispiness.


