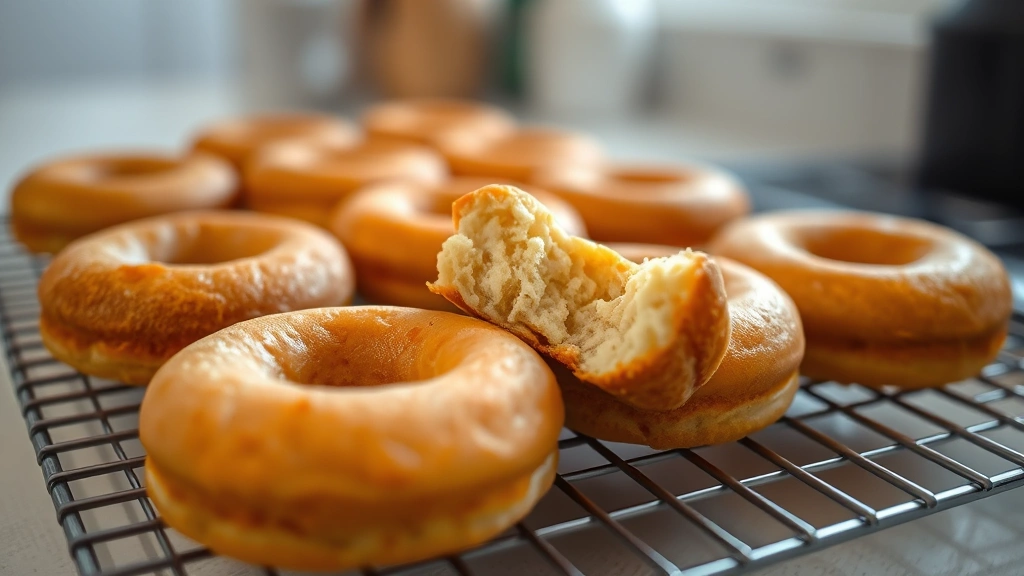
Fluffy Cake Donuts? Grandma’s Secret Recipe
There’s something magical about biting into a homemade cake donut—that tender crumb, the subtle sweetness, the way it practically melts on your tongue. My grandmother guarded her cake donut recipe like it was a family heirloom, and for good reason. After years of watching her work her magic in the kitchen, I finally discovered the secrets that make her donuts impossibly fluffy and irresistibly delicious. This isn’t just another cake donut recipe; it’s a tried-and-true formula that has been perfected over decades and is now ready to transform your breakfast table.
What sets these donuts apart from the dense, heavy versions you might find at commercial bakeries is the precise balance of ingredients and technique. Grandma’s approach combines the richness of sour cream with the lightness of buttermilk, creates the perfect tender crumb through careful mixing, and achieves that signature fluffy texture through proper leavening and baking temperature. Whether you’re a seasoned baker or just beginning your culinary journey, this cake donut recipe will guide you through every step to create bakery-quality donuts at home.
The Secret Behind Fluffy Cake Donuts
After countless conversations with my grandmother about her baking methods, I’ve narrowed down the key factors that make her cake donuts exceptionally fluffy. The foundation starts with understanding that cake donuts rely on chemical leavening rather than yeast, which means the rise happens during baking, not through fermentation. This is fundamentally different from yeast donuts, which require patience and proofing time.
The first secret involves the combination of leavening agents. Grandma uses both baking powder and baking soda in precise proportions—baking powder provides the primary lift, while baking soda reacts with acidic ingredients like buttermilk and sour cream to create additional carbon dioxide bubbles. This dual-action approach ensures maximum fluffiness without the dense texture that can result from over-relying on a single leavening agent.
The second secret is the creaming method. Before adding any flour, butter and sugar are beaten together thoroughly to incorporate air into the batter. This mechanical aeration is crucial for creating a tender crumb structure. Grandma would spend a full three minutes creaming, which seems long but is absolutely worth the effort. The mixture should transform from grainy to pale and fluffy, indicating proper incorporation of air.
The third secret concerns ingredient temperature and mixing technique. Room temperature ingredients blend more smoothly and create a more homogeneous batter, which promotes even rise and consistent texture. Additionally, Grandma taught me never to overmix the dry ingredients into the wet mixture—just a few gentle folds are all that’s needed to combine them without developing gluten, which would make the donuts tough.
Finally, the baking temperature is critical. These donuts bake at 350°F (175°C), which allows them to rise and set before the exterior browns too deeply. A few degrees difference can mean the difference between fluffy perfection and dry disappointment.
Essential Ingredients and Why They Matter
Let’s examine each ingredient in Grandma’s cake donut recipe and understand its specific role in creating that coveted fluffy texture.
All-Purpose Flour (2 cups): This is the structure builder. All-purpose flour has a moderate protein content that provides enough structure to hold the donuts together while remaining tender. Avoid cake flour, which would make them too delicate, and bread flour, which would make them too tough.
Granulated Sugar (¾ cup): Sugar does more than sweeten—it tenderizes the crumb, promotes browning, and helps retain moisture. The specific amount ensures sweetness without overwhelming the delicate donut flavor.
Baking Powder (2 teaspoons): This is your primary leavening agent. Look for quality baking powder with a recent purchase date to ensure maximum potency. Old baking powder loses effectiveness, which would result in flat donuts.
Baking Soda (½ teaspoon): This reacts with the acidic dairy components to create additional lift and aids in browning. It’s essential for the signature fluffy texture.
Salt (½ teaspoon): Salt enhances all flavors and strengthens gluten structure slightly, helping the donuts maintain their shape while baking. Never skip this ingredient.
Nutmeg (¼ teaspoon): This warm spice is Grandma’s secret flavor component. It adds subtle complexity without being identifiable as nutmeg, just a mysterious warmth that makes people ask what the secret ingredient is.
Sour Cream (½ cup): Sour cream provides richness and tang while adding acid that reacts with baking soda. It contributes to the tender, moist crumb that makes these donuts special.
Buttermilk (½ cup): Buttermilk adds moisture and acid, further promoting tenderness and helping create that fluffy structure. The combination of sour cream and buttermilk is what truly sets these donuts apart.
Eggs (2 large): Eggs bind ingredients together, contribute moisture, and add richness. Room temperature eggs blend more smoothly into the batter.
Vanilla Extract (1½ teaspoons): Pure vanilla extract enhances the overall flavor profile. Avoid imitation vanilla, which can taste artificial.
Butter (4 tablespoons, melted): Melted butter provides richness and helps create a tender crumb. Melting it first allows it to blend smoothly into the wet ingredients.
These ingredients work in concert to create the perfect balance of structure, moisture, and lift. Understanding their individual roles helps you appreciate why each one is essential and why substitutions rarely work well with this recipe.
If you’re interested in exploring more family recipes, check out our collection of grandma approved dinner recipes for additional classic dishes that have stood the test of time.

Step-by-Step Instructions
Now that you understand the science behind these fluffy cake donuts, let’s walk through the process of creating them. Follow these steps carefully for the best results.
Preparation Phase: Preheat your oven to 350°F (175°C). Grease your donut pans thoroughly with non-stick cooking spray or butter, making sure to coat the inside of each donut mold completely. Grandma always doubled-greases hers to ensure easy removal. Have all ingredients measured and at room temperature before beginning.
Mixing the Dry Ingredients: In a medium bowl, whisk together the flour, sugar, baking powder, baking soda, salt, and nutmeg. This step is important because it distributes the leavening agents evenly throughout the flour, ensuring consistent rise. Whisk for about thirty seconds to incorporate air and ensure even distribution.
Preparing the Wet Ingredients: In another bowl, combine the sour cream, buttermilk, eggs, vanilla extract, and melted butter. Whisk these together until well combined and smooth. Make sure there are no lumps of sour cream remaining. The mixture should be homogeneous and smooth.
Combining Wet and Dry: Pour the wet ingredients into the dry ingredients and fold together gently using a spatula or wooden spoon. This is where patience pays off—resist the urge to stir vigorously. Stir just until the dry ingredients are moistened. Some small lumps are perfectly acceptable and preferable to overmixing. Overmixing develops gluten, which creates tough donuts.
Filling the Donut Pan: Transfer the batter to a piping bag fitted with a plain round tip. If you don’t have a piping bag, you can use a zip-top bag with the corner cut off, though a proper piping bag gives better control. Pipe the batter into the prepared donut molds, filling each about three-quarters full. Grandma’s trick is to fill them with a smooth, even motion to create uniformly shaped donuts.
Baking: Place the donut pans in the preheated oven and bake for 8-10 minutes. The donuts are done when a toothpick inserted into one comes out clean and they spring back slightly when lightly pressed. Don’t overbake—they should be light golden brown, not dark brown. The baking time may vary slightly depending on your oven, so start checking at 8 minutes.
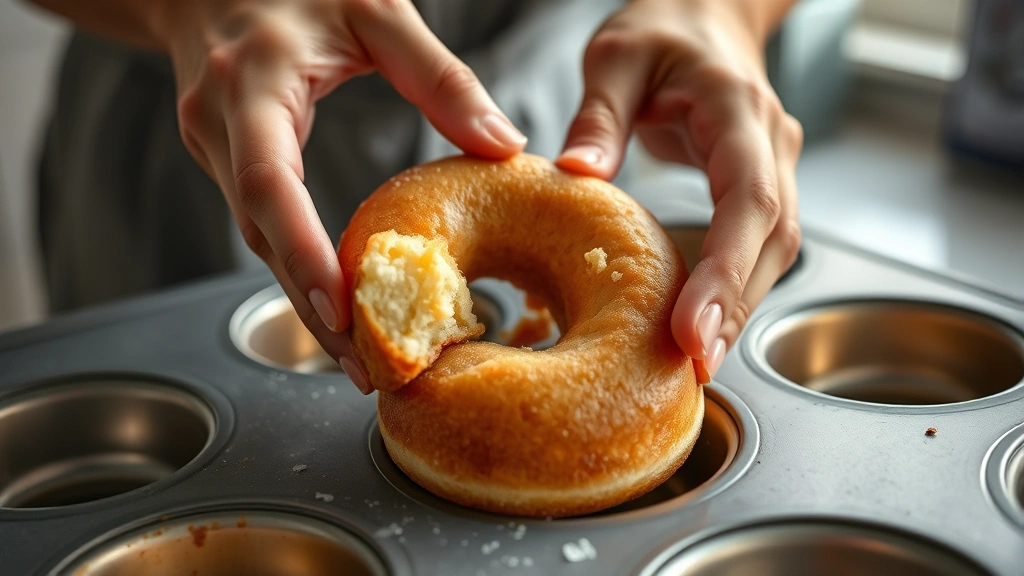
Cooling: Allow the donuts to cool in the pan for about 5 minutes. This brief resting period allows them to set enough to be removed without breaking. After 5 minutes, turn the pan upside down and gently tap the bottom to release the donuts onto a wire cooling rack. Complete cooling takes about 15 minutes.
For complementary breakfast ideas, explore our quick breakfast recipes collection to pair with your homemade donuts.
Glaze and Topping Ideas
Plain cake donuts are delicious, but glazes and toppings elevate them to something truly special. Grandma had several favorite finishing options that I’ll share with you.
Classic Vanilla Glaze: This is the simplest and most elegant option. Whisk together 2 cups powdered sugar, 3 tablespoons milk, and 1 teaspoon vanilla extract until smooth. Dip the top of each donut into the glaze, allowing excess to drip off. Set on a cooling rack to let the glaze set. This takes about 30 minutes.
Cinnamon Sugar Coating: While the donuts are still slightly warm, brush them with melted butter and immediately dip into a mixture of ½ cup granulated sugar combined with 2 teaspoons ground cinnamon. This creates a crispy, sweet exterior that contrasts beautifully with the fluffy interior.
Chocolate Glaze: Combine 1 cup powdered sugar, 2 tablespoons unsweetened cocoa powder, 3 tablespoons milk, and ½ teaspoon vanilla extract. Whisk until smooth and glossy. This creates a rich chocolate coating that pairs wonderfully with the tender cake.
Maple Glaze: Mix 2 cups powdered sugar, 3 tablespoons maple syrup, and 2 tablespoons milk for a fall-inspired glaze with subtle maple flavor that complements the nutmeg in the donuts.
Toppings After Glazing: Before the glaze sets, you can add sprinkles, chopped nuts, shredded coconut, or even small candy pieces. The possibilities are nearly endless, and this is where you can get creative and make them your own.
For more creative topping ideas, check out our guide on how to make homemade jams, which can be used as a delicious filling or topping for your donuts.
Storage and Make-Ahead Tips
One of the best aspects of cake donuts is their excellent keeping quality. Unlike yeast donuts, which can become stale quickly, cake donuts maintain their quality for several days when stored properly.
Room Temperature Storage: Store unglazed donuts in an airtight container at room temperature for up to 3 days. The tender crumb stays moist and fresh when protected from air exposure. Glazed donuts should also be stored in an airtight container but are best consumed within 2 days, as the glaze may become sticky or the donuts may soften slightly.
Refrigerator Storage: If you need to store donuts longer, place them in an airtight container in the refrigerator for up to one week. Before serving, you can warm them briefly in the microwave (10-15 seconds) to restore their just-baked texture.
Freezer Storage: Unglazed donuts freeze beautifully for up to three months. Place them in a freezer-safe container with parchment paper between layers to prevent sticking. To thaw, leave them at room temperature for about 30 minutes, or warm them in the oven at 300°F for 10 minutes. Glazed donuts can be frozen too, though the glaze may crack slightly during thawing.
Make-Ahead Strategy: You can prepare the batter up to 4 hours in advance by storing it in a covered bowl in the refrigerator. However, the donuts will be slightly less fluffy, so baking fresh is always preferable. The dry ingredients can be whisked together and stored in a sealed container for up to one week.
Reheating Tips: To refresh donuts that have been stored, wrap them loosely in foil and warm in a 300°F oven for 5-10 minutes. This restores moisture and creates a fresher texture without drying them out.
Troubleshooting Common Donut Problems
Even with careful attention to technique, sometimes things don’t go exactly as planned. Here are solutions to common donut problems that Grandma has helped me solve over the years.
Dense, Heavy Donuts: This usually indicates overmixing. Remember to fold the wet and dry ingredients together gently—just until combined. Dense donuts can also result from old leavening agents, so check your baking powder and baking soda expiration dates. Additionally, ensure you’re creaming the butter and sugar for the full three minutes.
Donuts That Are Dry: Overbaking is the primary cause. Check your oven temperature with a reliable thermometer and reduce baking time by one minute if needed. Dry donuts can also result from too much flour, so measure flour by spooning and leveling, not by scooping directly from the bag.
Flat, Sunken Donuts: This indicates insufficient leavening or oven temperature that’s too low. Verify your baking powder and baking soda are fresh and properly measured. Use an oven thermometer to confirm your oven is actually reaching 350°F.
Donuts That Stick to the Pan: This happens when the pan isn’t adequately greased. Grandma’s solution is to double-grease with non-stick cooking spray, making sure to coat the interior of each mold completely. Some bakers prefer using silicone donut pans to eliminate sticking entirely.
Uneven Browning: If some donuts brown faster than others, your oven may have hot spots. Rotate the pan halfway through baking. Also ensure the pan is positioned in the center of the oven for the most even heat distribution.
Cracked Donuts: Cracks typically form when donuts rise too quickly due to oven temperature being too high. Lower the temperature by 25°F and increase baking time slightly. Cracks can also result from opening the oven door too early—wait at least 7 minutes before checking.
Donuts Sticking Together: When storing, ensure donuts are completely cooled before placing them in containers. Use parchment paper between layers to prevent sticking. If donuts do stick together, separate them gently and they should return to normal.
FAQ
Can I use a regular muffin tin instead of a donut pan?
You can, though the results will be different. Regular muffins will be larger and won’t have the characteristic donut shape. The baking time may also differ, so check them starting at 12 minutes. Some bakers use this method intentionally to create donut muffins.
Can I make these donuts without a piping bag?
Yes, though the results are easier to achieve with a piping bag. You can use a zip-top bag with the corner cut off, or simply spoon the batter into the molds and smooth it with a small spatula. The donuts may be slightly less uniform in shape.
How much does this recipe yield?
This recipe makes approximately 12-18 donuts, depending on the size of your donut pan. Most standard donut pans make 6 donuts per batch, so you may need to bake in two batches.
Can I add flavors like chocolate or pumpkin?
Absolutely! You can replace ¼ cup of the flour with unsweetened cocoa powder for chocolate donuts. For pumpkin donuts, replace ½ cup of the sour cream with pumpkin puree and add ½ teaspoon each of cinnamon, ginger, and cloves. Adjust liquid amounts if needed to maintain the batter consistency.
What if my donuts are too oily?
This usually means the oven temperature was too low, causing them to absorb oil as they bake. Use an oven thermometer to verify temperature accuracy. Additionally, ensure you’re not using old or degraded baking soda, which can cause excessive browning and oil absorption.
Can I use melted coconut oil instead of butter?
Yes, melted coconut oil works as a 1:1 substitute, though it will give a slightly different flavor. The texture should remain similarly fluffy. Avoid solid coconut oil, as it won’t blend smoothly into the batter.
How do I know when the donuts are perfectly done?
A toothpick inserted into a donut should come out clean or with just a few moist crumbs. The donuts should spring back slightly when lightly pressed and be light golden brown in color. They continue to cook slightly after removal from the oven, so don’t overbake.
Can I make mini donuts with this recipe?
Yes! Mini donut pans work perfectly with this recipe. Simply reduce the piping amount and check for doneness starting at 5-6 minutes instead of 8 minutes. Mini donuts bake much faster, so watch them carefully.
Is there a vegan version of this recipe?
This recipe relies heavily on dairy for its texture, making it challenging to veganize without significant modifications. You would need to replace sour cream and buttermilk with non-dairy alternatives and use flax eggs instead of regular eggs. Results may differ from the original.
For more baking inspiration, explore our easy dinner recipes for beginners that include various baking techniques.
Making these donuts is truly a rewarding experience that connects you to generations of home baking tradition. Grandma’s secrets have now become yours, and you’re ready to create bakery-quality fluffy cake donuts in your own kitchen. The combination of proper technique, quality ingredients, and patience creates something that tastes far superior to store-bought alternatives. Start with this classic recipe, master the technique, then feel free to experiment with flavors and toppings that suit your preferences. Your family will wonder how you’re creating such delicious homemade donuts, and you can smile knowing you’ve learned from the best. Happy baking!


