Hidden Valley Ranch Dip Recipe: The Ultimate Fan Favorite
There’s something magical about a bowl of creamy, herb-packed ranch dip at a gathering. Whether you’re hosting a game day party, bringing a dish to share, or simply craving a crowd-pleasing appetizer, this Hidden Valley ranch dip recipe has become the go-to choice for millions of home cooks. The beauty of this dip lies in its simplicity—just a few quality ingredients combined to create an irresistible flavor that keeps guests coming back for more.
What makes this particular dip so beloved? It’s the perfect balance of tangy, savory, and herbaceous notes that complement everything from fresh vegetables to crispy chips. Unlike some homemade versions that require a lengthy list of dried herbs and spices, this recipe leverages the convenience of Hidden Valley seasoning packets while maintaining that authentic, restaurant-quality taste. In this comprehensive guide, we’ll explore everything you need to know to master this classic dip, from ingredient selection to creative serving suggestions.
Essential Ingredients for Perfect Ranch Dip
The foundation of an exceptional Hidden Valley ranch dip recipe starts with understanding each ingredient’s role. The classic combination typically includes sour cream, mayonnaise, and Hidden Valley seasoning mix, but the ratios and quality of each component matter significantly.
Sour Cream: This ingredient provides the tangy backbone of your dip. Full-fat sour cream creates the richest, most luxurious texture, though Greek yogurt can serve as a lighter alternative. The sour cream’s acidity balances the richness of the mayo and brings out the herb flavors in the seasoning packet. For best results, use fresh sour cream that hasn’t been sitting in your refrigerator for weeks.
Mayonnaise: Mayo adds creamy smoothness and helps bind the ingredients together. Don’t skip this component—it’s essential for achieving that signature velvety consistency. Quality matters here; premium mayonnaise will produce noticeably better results than budget brands. The fat content in mayo also helps distribute the seasoning evenly throughout the dip.
Hidden Valley Seasoning Packet: This is the star ingredient that gives the dip its distinctive flavor profile. One standard packet (typically 1 ounce) contains the perfect blend of parsley, dill, chives, garlic, onion, and other seasonings. If you prefer homemade salad dressings, you could make your own herb blend, but the convenience and consistency of the packet is hard to beat.
Optional Additions: Many cooks enhance their dip with extras like fresh chives, parmesan cheese, crispy bacon bits, or a splash of Worcestershire sauce. These additions personalize the dip while maintaining its core identity.
Step-by-Step Preparation Guide
Making this dip is straightforward, but attention to detail ensures optimal flavor and texture. Here’s the process broken down into manageable steps:
- Gather Your Ingredients: Assemble one cup of sour cream, one cup of mayonnaise, and one packet of Hidden Valley seasoning mix. Having everything ready prevents unnecessary delays and ensures even mixing.
- Combine in a Mixing Bowl: Add the sour cream and mayonnaise to a medium-sized mixing bowl. Use a whisk or sturdy spoon to blend these two ingredients until they’re fully incorporated and smooth. This initial mixing is crucial—lumpy sour cream or unblended mayo will result in an uneven texture.
- Add the Seasoning Packet: Sprinkle the Hidden Valley seasoning mix over the sour cream and mayo mixture. Rather than dumping it all at once, add it gradually while stirring. This prevents clumping and ensures the seasoning distributes evenly throughout the dip.
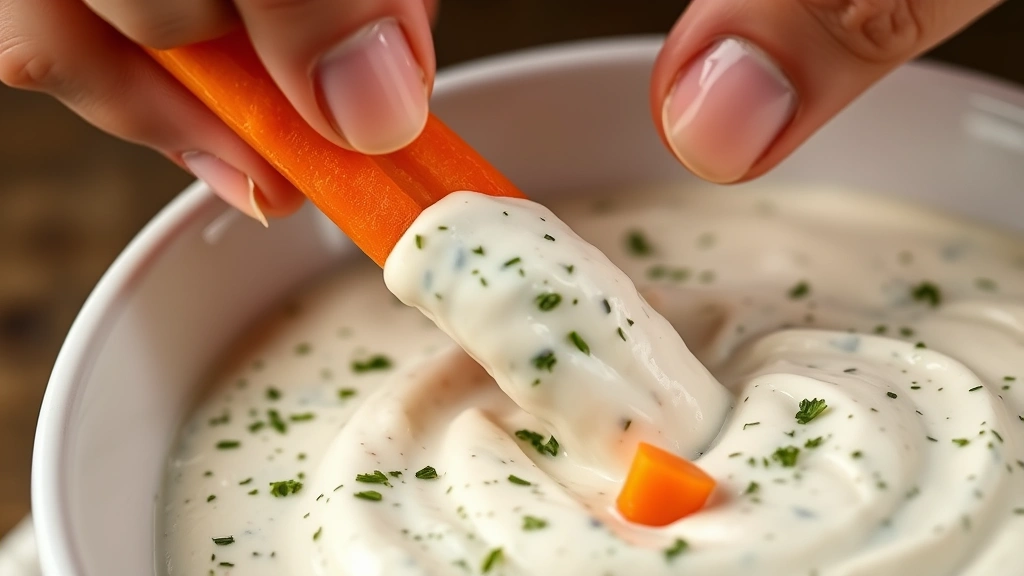
- Stir Thoroughly: Mix the dip for at least two minutes, making sure every bit of seasoning is incorporated. You should see the mixture transform from plain white to a light green-speckled cream. Scrape the sides and bottom of the bowl to ensure nothing gets missed.
- Taste and Adjust: Before serving, taste your dip. If you prefer a more intense flavor, add a tiny pinch more seasoning. If it seems too thick, thin it with a tablespoon of milk or sour cream. This customization step is where you make the dip your own.
- Chill Before Serving: Transfer the dip to your serving bowl and refrigerate for at least 30 minutes. This resting time allows the flavors to meld and intensify. Cold dip also has better body and won’t separate as quickly when guests dip into it.
The entire preparation takes less than 10 minutes, making this an ideal last-minute appetizer option. If you’re bringing this to a party, you can prepare it the night before and simply transfer it to your serving dish when you arrive.
Creative Variations and Flavor Twists
While the classic version is unbeatable, this dip serves as a fantastic base for creative experimentation. Consider these popular variations that maintain the ranch essence while adding exciting dimensions:
Bacon Ranch: Crumble crispy bacon and fold it into your dip just before serving. The smoky, salty notes complement the herbs beautifully. Use real bacon rather than imitation bits for superior flavor. This variation pairs exceptionally well with vegetable crudités.
Spicy Sriracha Ranch: Add one to two teaspoons of sriracha sauce to the mixture for a subtle heat. This creates a dip that appeals to those who enjoy bold flavors while remaining approachable for milder palates. Adjust the heat level to your preference.
Dill Pickle Ranch: Stir in one-quarter cup of finely minced dill pickles and one tablespoon of pickle juice. This variation is perfect for pickle enthusiasts and adds a tangy, briny complexity. It’s particularly excellent with potato chips.
Garlic Parmesan: Increase the garlic flavor by adding one-half teaspoon of minced fresh garlic and one-quarter cup of grated Parmesan cheese. This creates a more savory, umami-forward version that’s impressive served alongside crusty bread.
Buffalo Chicken Dip Style: Mix in one-half cup of shredded cooked chicken, one-quarter cup of buffalo sauce, and one-quarter cup of blue cheese crumbles. This transforms your ranch dip into a hearty, protein-packed appetizer reminiscent of popular healthy crockpot recipes adapted as cold dips.
Fresh Herb Ranch: Supplement the packet seasoning with fresh herbs like chives, dill, and parsley. Use about one tablespoon of fresh herbs for every packet of seasoning. Fresh herbs add brightness and elevate the dip to gourmet status.
Serving Suggestions and Pairing Ideas
The versatility of this dip extends far beyond its ingredient list. How you serve it and what accompanies it can transform the dining experience:
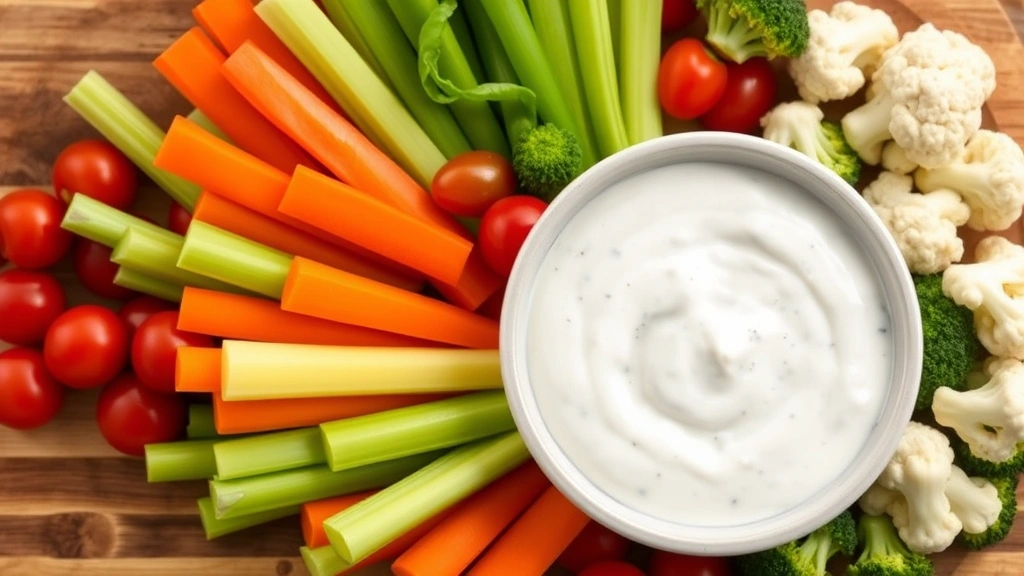
Vegetable Pairings: Fresh vegetables are the classic pairing. Arrange an assortment of cherry tomatoes, baby carrots, celery sticks, cucumber slices, bell pepper strips, broccoli florets, and cauliflower around your dip bowl. The crisp texture of raw vegetables contrasts beautifully with the creamy dip, and the natural flavors of quality produce shine alongside the herbs.
Chip and Cracker Options: Potato chips, tortilla chips, and pita chips all work wonderfully. For a more sophisticated presentation, try serving with herb crackers, water crackers, or rosemary-flavored chips. The dip’s richness pairs well with salty, crunchy vehicles.
Bread Accompaniments: Toasted baguette slices, breadsticks, or garlic bread transform the dip into something more substantial. This presentation works particularly well for dinner parties or casual entertaining where guests might want heartier bites.
Meat and Cheese Boards: Don’t overlook the dip’s role on charcuterie boards. A small bowl of ranch dip adds a creamy element that bridges the gap between cured meats, cheeses, and fresh fruits. The herb notes complement aged cheddars and prosciutto particularly well.
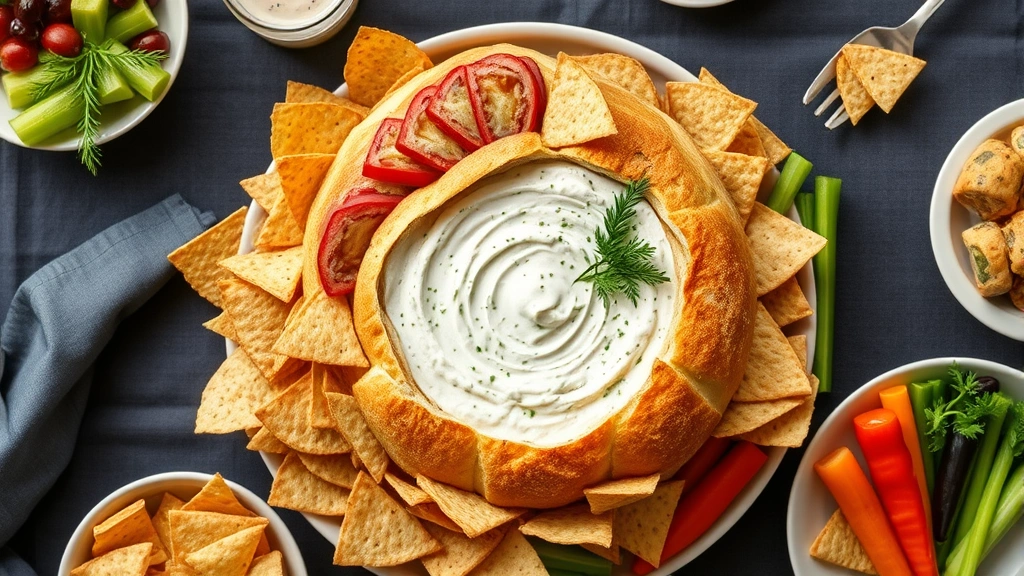
Party Presentation: For large gatherings, consider serving the dip in a hollowed-out bread round or pepper. This creates a stunning centerpiece while offering an edible serving vessel. Alternatively, transfer it to a beautiful serving bowl and surround with colorful vegetable sticks for visual impact.
Temperature Considerations: While traditionally served cold, some guests enjoy it at room temperature, which intensifies the flavors. If bringing to an outdoor event, keep it chilled in a cooler or on ice to maintain food safety and optimal texture.
Storage Tips and Make-Ahead Instructions
One of this dip’s greatest advantages is its excellent shelf life and make-ahead friendliness. Understanding proper storage ensures your dip remains fresh and delicious:
Refrigerator Storage: Cover your prepared dip with plastic wrap or transfer it to an airtight container. It will keep for up to five days in the refrigerator. The flavors actually improve slightly as they meld over the first 24 hours, making it ideal for preparing a day or two ahead.
Make-Ahead Strategy: You can prepare this dip up to three days before your event. Store it in an airtight container, and it will be ready to transfer to your serving bowl whenever needed. This make-ahead capability makes it perfect for busy hosts.
Texture Maintenance: If your dip seems to have separated or become slightly watery after storage, simply stir it well. The ingredients naturally settle, but mixing redistributes everything evenly. You can also add a tablespoon of sour cream or mayo to restore creaminess if needed.
Freezing Considerations: While you can technically freeze this dip, the texture changes slightly upon thawing due to the sour cream base. If you must freeze it, do so in an airtight container for up to one month, and plan to stir thoroughly after thawing. For best results, prepare fresh rather than relying on frozen batches.
Reheating Options: If serving warm (an interesting variation), transfer the dip to an oven-safe dish and heat at 350°F for about 15 minutes until warmed through. You could also use a slow cooker on low setting for parties, which maintains the dip at perfect temperature while guests help themselves throughout the event. This approach works particularly well for beef stew crockpot recipe style entertaining where warm appetizers shine.
Consistency Adjustments: If your dip thickens too much during storage, thin it with a splash of milk, cream, or a bit more sour cream. If it seems too thin, fold in additional mayo or sour cream in small amounts until you achieve the desired consistency.
Frequently Asked Questions
Can I make this dip without Hidden Valley seasoning packet?
Yes, though the convenience factor disappears. You can create a homemade seasoning blend using dried parsley, dill, chives, garlic powder, onion powder, salt, and pepper. However, replicating the exact flavor profile requires careful measurement and testing. Many cooks find the packet’s consistency and reliability worth the small cost. For detailed guidance on creating custom blends, explore resources on spice blending techniques.
Is Greek yogurt a suitable sour cream substitute?
Absolutely. Plain Greek yogurt creates a lighter, higher-protein version. Use equal parts Greek yogurt and mayo. The result will be slightly less tangy and richer in texture, but equally delicious. This substitution works particularly well for those seeking white chicken chili recipe with corn style healthier entertaining options.
How can I make this dip less heavy?
Reduce the mayo and increase the sour cream or yogurt ratio. You could also fold in one-quarter cup of finely minced fresh vegetables like cucumber or celery for volume without excessive fat. Some cooks substitute half the mayo with cream cheese for a different texture while maintaining richness.
What’s the best way to prevent separation?
Ensure your sour cream and mayo are well-combined before adding the seasoning. Mix thoroughly and chill immediately. The cold temperature helps everything stay emulsified. If separation occurs, vigorous stirring will usually fix it.
Can I double this recipe for large parties?
Definitely. Simply double or triple all ingredients. The preparation method remains identical—mix the dairy products first, add seasoning gradually while stirring, and chill. Larger batches may need slightly longer chilling time to reach optimal temperature throughout.
Does this dip work as a salad dressing?
Yes! Thin it with a bit of milk or buttermilk to achieve dressing consistency. It becomes a homemade ranch dressing that’s fresher and more flavorful than bottled versions. This approach connects beautifully with learning how to make homemade salad dressings from scratch.
What vegetables work best for dipping?
Crisp, mild vegetables work best: carrots, celery, bell peppers, cherry tomatoes, cucumber, broccoli, cauliflower, and snap peas. Avoid very soft or watery vegetables that might become mushy. Prep vegetables just before serving to maintain maximum crispness and freshness.
Can this dip be served warm?
Yes, though it’s unconventional. Heat gently in a slow cooker on low or in a 350°F oven. Warming intensifies the herb flavors and creates a different texture experience. Some find warm ranch dip more appealing for cool-weather gatherings.
How do I know if my dip has gone bad?
Look for off-odors, visible mold, or an unusually sour smell beyond the normal tang. If the dip was left unrefrigerated for more than two hours, discard it. When in doubt, throw it out—fresh dip is quick and inexpensive to make.
What’s the ideal serving temperature?
Cold or slightly cool (around 40°F) is traditional and most popular. This temperature showcases the flavors while providing a refreshing contrast to warm foods. Remove from the refrigerator about 15 minutes before serving if you prefer it slightly less cold.
This Hidden Valley ranch dip recipe has earned its status as a fan favorite through its perfect balance of simplicity, flavor, and versatility. Whether you’re preparing it for a casual weeknight gathering or an elaborate dinner party, this dip delivers consistent, crowd-pleasing results. The foundation provided here allows endless customization, ensuring you can make it your signature version while maintaining the beloved ranch essence that keeps people reaching for more. Start with the classic preparation, then experiment with variations to discover your perfect version of this timeless appetizer.


